
What does Anypoint Code Builder look like for the Desktop release?
It’s been a while since the last blog post about Anypoint Code Builder, and it’s time to catch up on the new releases. In today’s blog, I explain the recently released Anypoint Code Builder for Desktop. If you want to find out more about how to design, develop and implement APIs using web-based Anypoint Code Builder, check out our previous blogs:
How to implement and deploy API from MuleSoft Anypoint Code Builder
How to design an API in Anypoint Code Builder
Let's start with MuleSoft Anypoint Code Builder
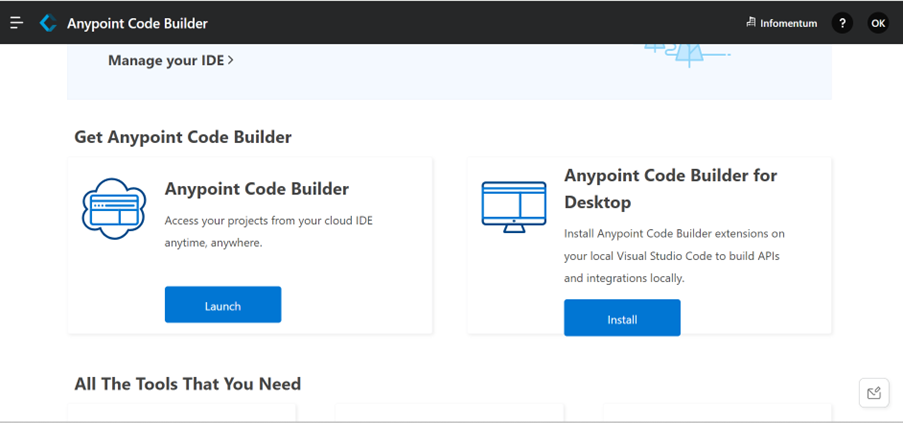
Before installing Anypoint Code Builder, check that you have Visual Studio installed. Then log in to Anypoint Platform and click on Install Anypoint Code Builder.
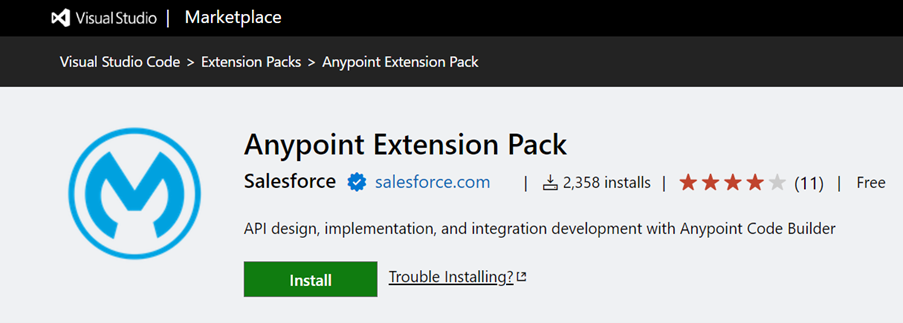
Anypoint Code Builder will be installed as an extension to Visual Studio.
Once installed, you should see the Welcome Page as below.
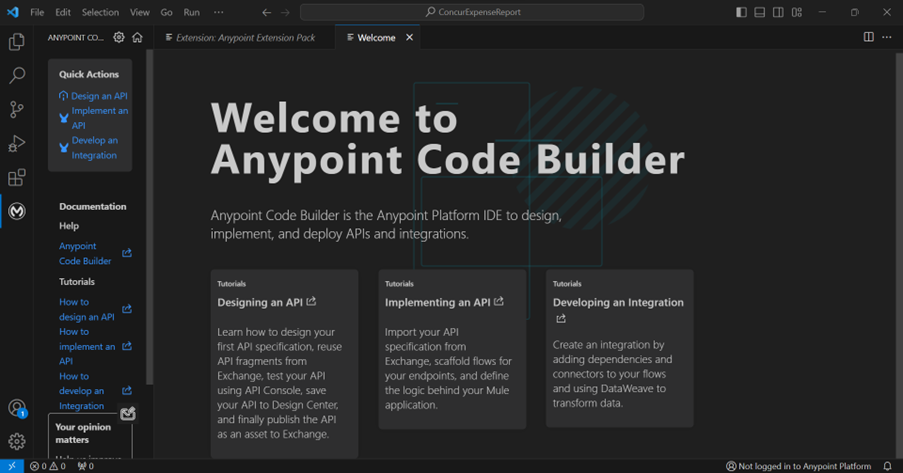
We will now design an API. We will use our Hello World example, which I used in the previous blog. Click ‘Design an API’ from the Quick Actions window box above. Then, the Visual Studio prompts you to log in to the Anypoint Platform. After logging in, it will redirect you back to the Visual Studio. Then, we select the project name, folder and language for our API specifications. Anypoint Code Builder supports RAML and OAS.
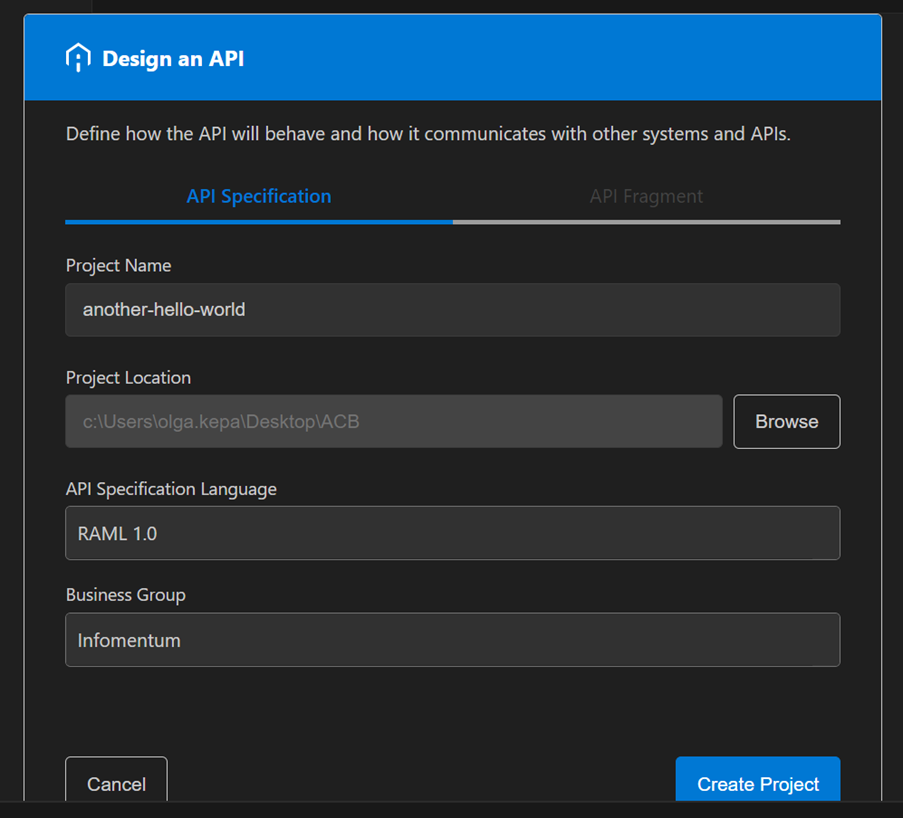
After clicking on ‘Create Project’, the API specifications will be pushed to the Design Centre.

Then, I used the same API specifications we used when designing API specifications in Anypoint Code Builder for the web-based version. On the left side, we can see the API console, and we can try our endpoints, just like using Mocking Service in the Design Centre. To upload API specifications to the Design Centre, click on the Source Control on the left side and push the changes.
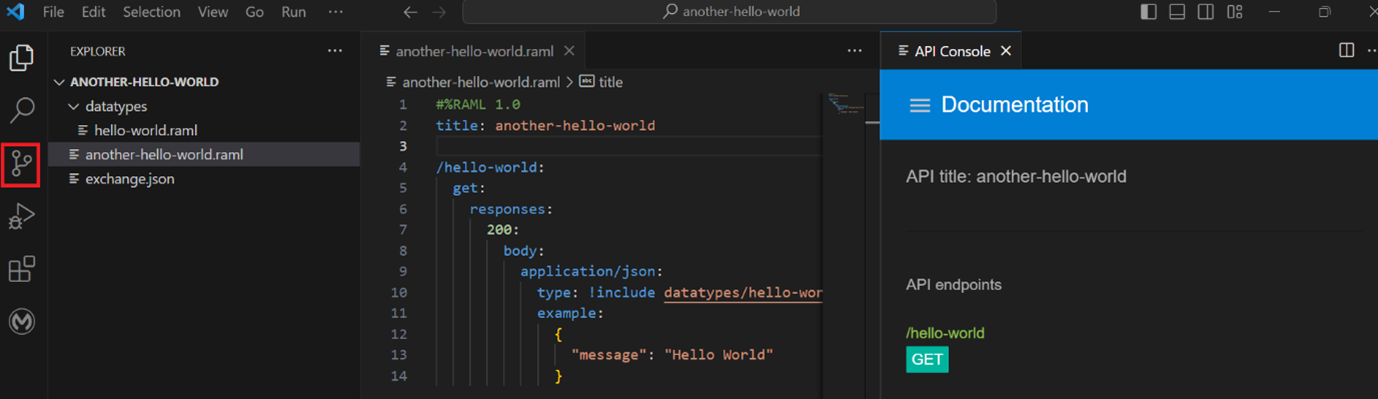
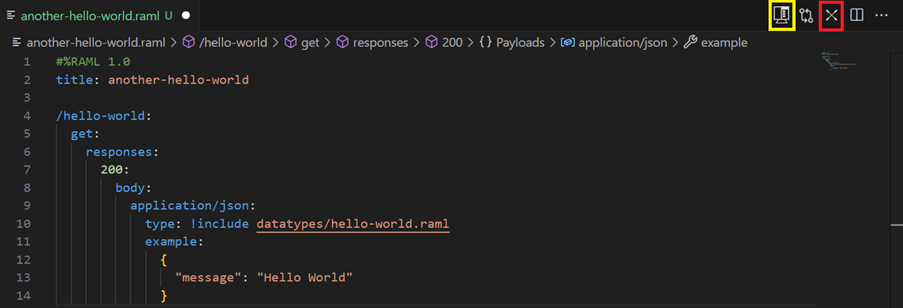
Now, we can go ahead and implement our API. To do this, we need to click on the icon highlighted in red on the upper right. If we click the icon highlighted in yellow, it shows the API console with a mocking service as above.
Then VS prompts us to select a folder for our implementation and does scaffolding of the API specification. I will implement the API the same way as in the previous blog post:
How to implement and deploy API from MuleSoft Anypoint Code Builder
In summary, I created interface.xml from scaffolded specifications and implementation.xml file, which has one flow with a Transform Message component, with hardcoded “Hello World”. I used the flow reference component to refer to this flow from the interface.xml.
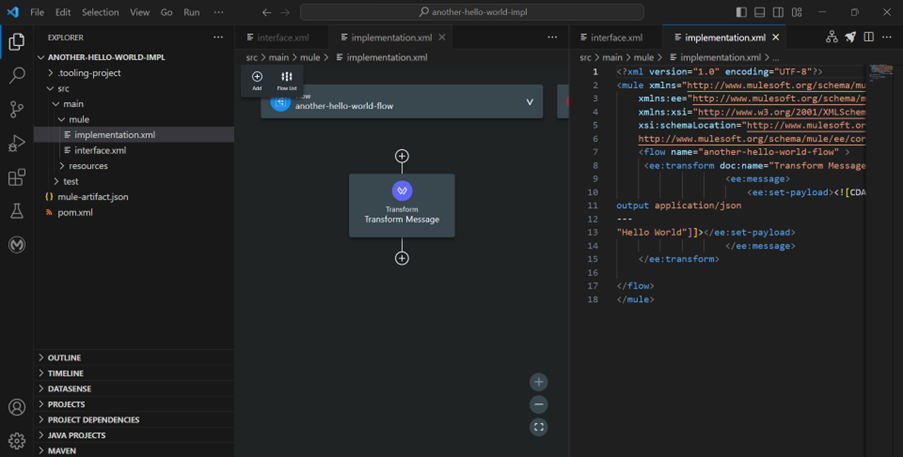
Anypoint Code Builder for Desktop edition supports many components that you can use to build your flow, which is covered in detail https://docs.mulesoft.com/anypoint-code-builder/acb-components#builtin-connectors
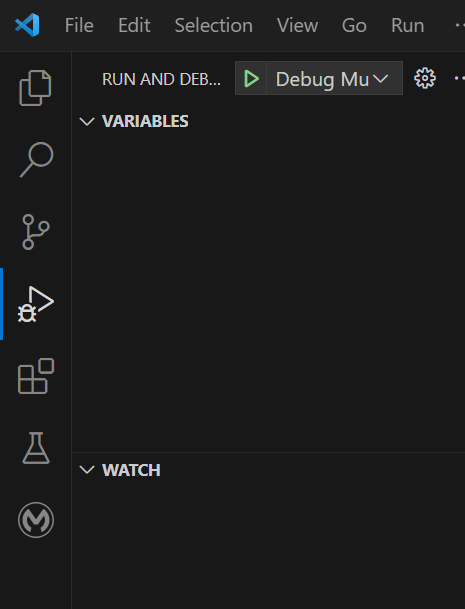
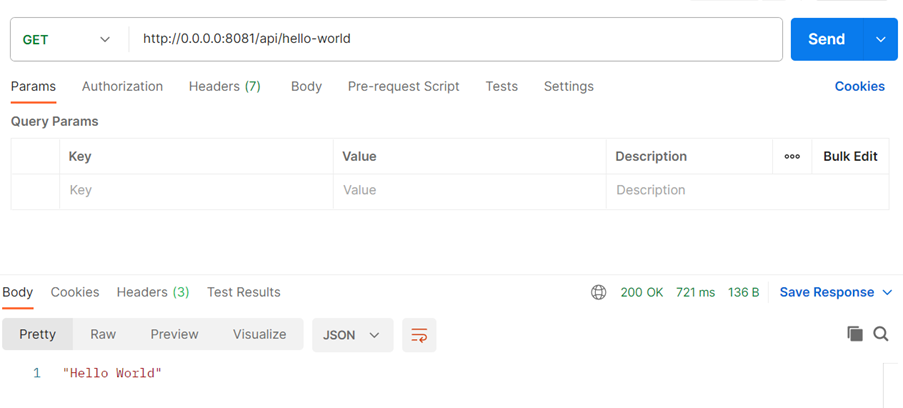
Next, we run the API locally and deploy it to Cloudhub. To run the API locally, we need to hit the Run and Debug button located on the left-hand side.
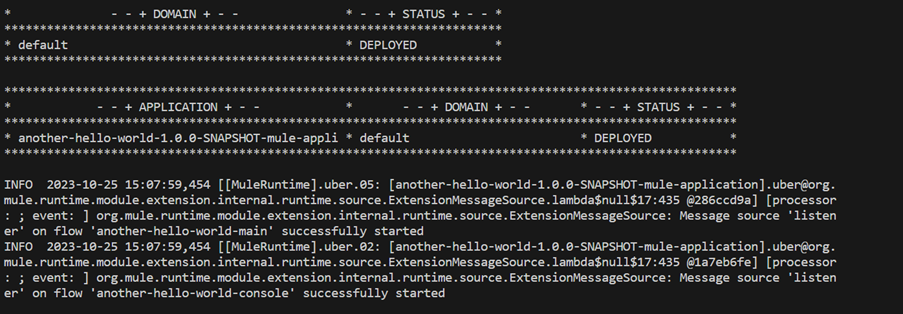
After the API is deployed, we can hit the endpoint from the Postman.
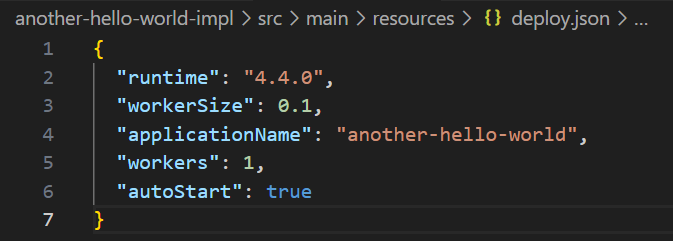
After testing our API locally, we can deploy the API to Cloduhub by clicking on the Rocket Button on the left-hand side.

The deploy.json file will be automatically created for you.
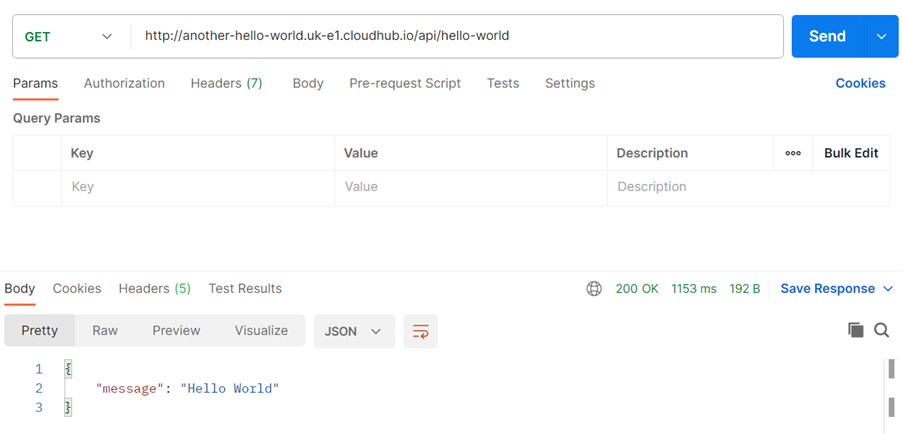
Once the deployment is complete, we can see the API in the Runtime Manager.

And we can hit it from Postman to see if it's working as expected.
And that’s all! I hope you enjoyed another blog on ACB, and I will be back to guide you through any new releases!

.png)
