
In the first part of the blog, I described the basics of Anypoint Code Builder. Today, I will guide you through the design phase of the ‘Hello World’ project.
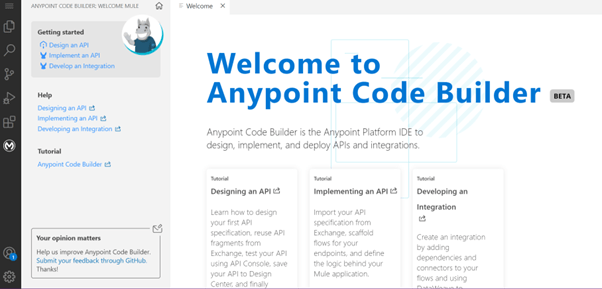
So, let’s start where we left off - at the Welcome Page.
Design
Let’s click on Design an API at the top of the Welcome Page.
Next, we select the project name, its location, API specification language and business group.
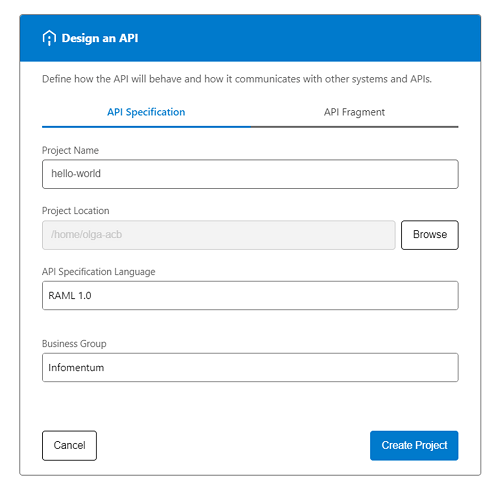
Then, let’s click on Create Project.
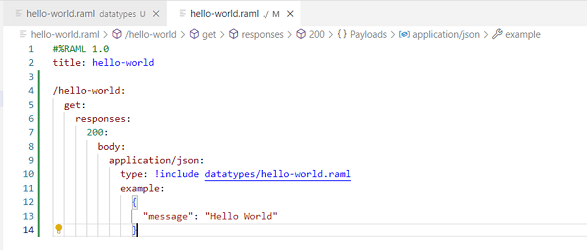
To build specifications for our API, we follow the same steps as we would do to create a specification in Design Centre. In short, our specifications consist of the following:
- Resource name – hello-world,
- HTTP method – GET,
- 200 status code,
- Then in the response body, we will select content-type – application JSON,
- We will include the hello-world.raml datatype stored in the folder datatypes,
- We will also provide an example response.
Our raml specification is ready and looking like this:
We’re good to test our raml specification using Mocking Service provided by Anypoint Code Builder.
In the top right corner, there’s an API console icon.
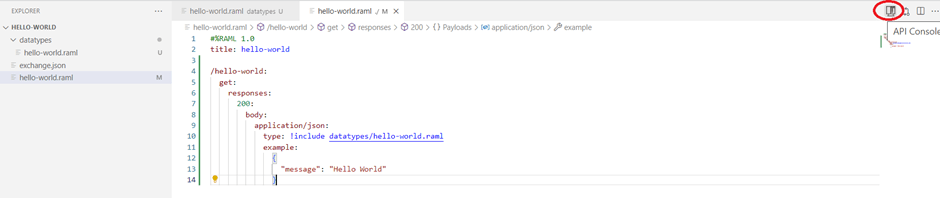
After we click the API console button, we can see it looks the same as the mocking service we have in the Design Centre.
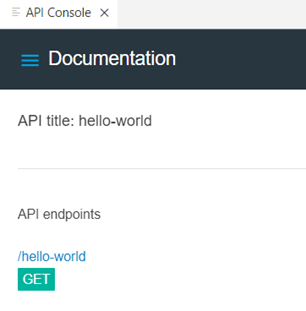
Let’s click GET, under /hello-world endpoint.
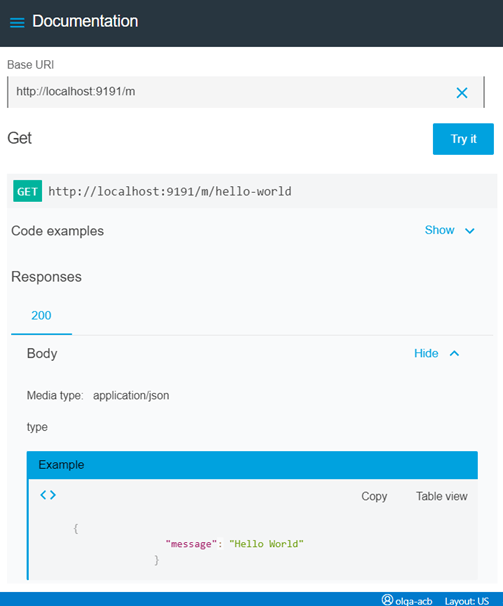
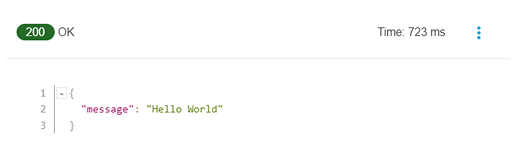
And now, we can click Try it. After sending the request, here is our response:
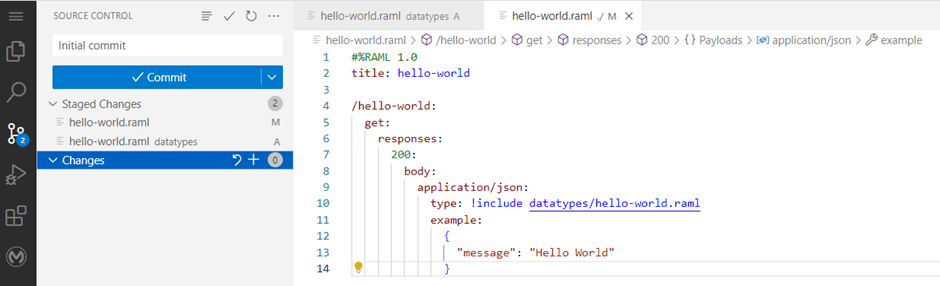
Our specification has been tested, so we can synchronise the changes with Design Centre.
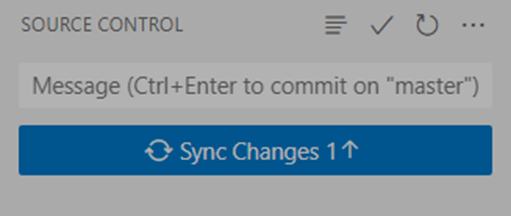
On the left-hand side, there’s a Branch Icon; let’s click it. We can see the two files we've added (one inside a datatypes folder). Let’s stage the files and type the commit message “initial commit”, and commit our changes.
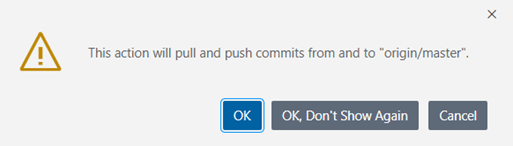
Now, we will click on synchronise button and confirm, pushing the changes to the origin/master.
Then, we will be prompted to open Anypoint Platform.
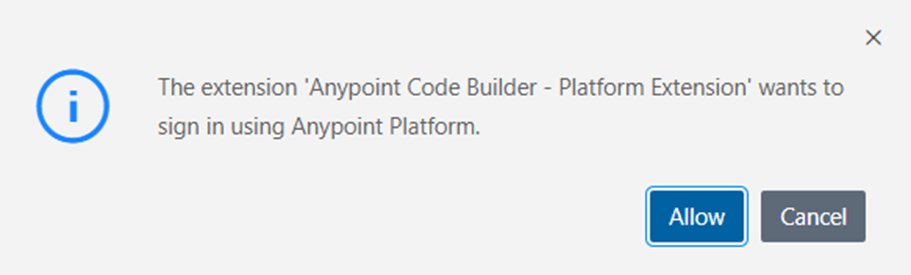
After clicking Allow, ACB will push the commit. After this is done, in the Design Centre, we can see our specifications.

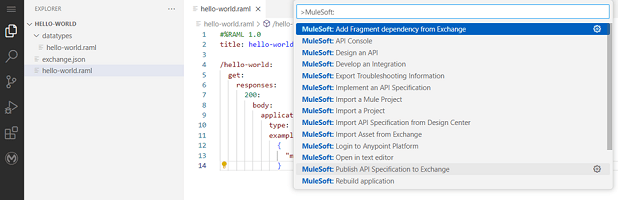
We are good to publish the specification to Exchange now. To do this, we click Ctrl+Shift+P. Next, from the list, we select the command: MuleSoft: Publish API specification to Exchange.
We are now prompted to select: the project name, artefact id, asset version and API version. After this, the asset will be published to Exchange, and we can see it there:
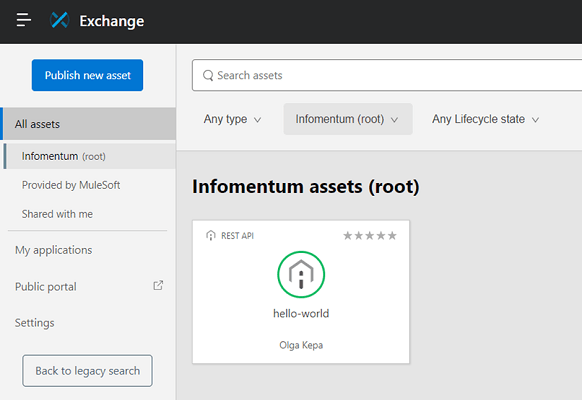
And that’s it! Now our specification has been published. Overall the process was similar to designing the specification in Design Centre and Publishing it to Exchange.
In the next part of this blog, we will focus on implementing and deploying the API using Anypoint Code Builder.


.png)
