
In the second part of my blog about MuleSoft RPA in action, I’d like to show the complete automation process - from process evaluation to design, build and execution. I hope it will help you see the potential of Mulesoft RPA and how you can apply it to improve the efficiency of your processes.
You will learn how to automate a simple process that involves reading records from an Excel document, checking if this information exists in Salesforce and creating a new entity if it is not found.
Process evaluation
We always start with the process evaluation to confirm that our candidate can and should be automated. We create a process in RPA Manager and specify the cost of running, nature of work, frequency, input/output, risks and other parameters. The result is the process matrix which is used to evaluate its suitability for automation.
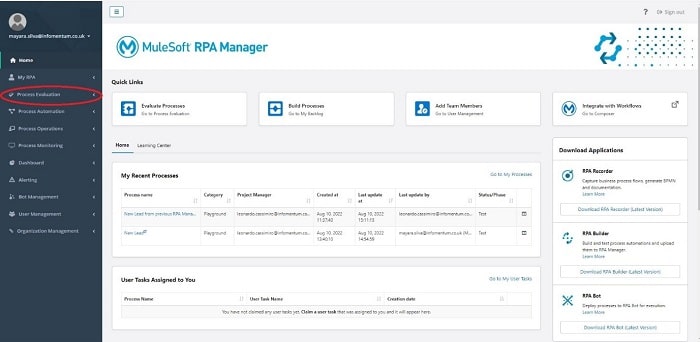
I log into RPA Manager, go to the menu, and click Process Evaluation.
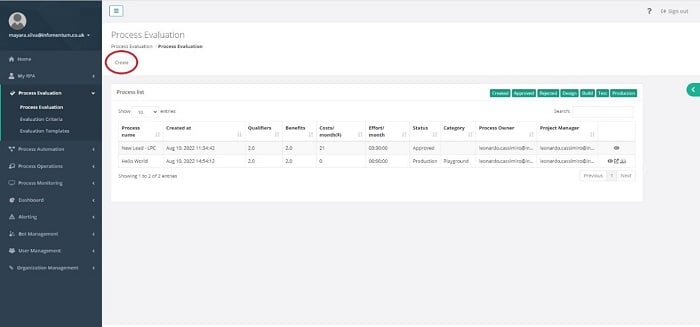
 In the Process Evaluation menu, select Process Evaluation and click Create.
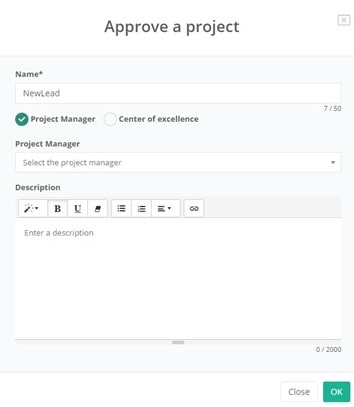
 Provide the process's name, category and description and click OK.
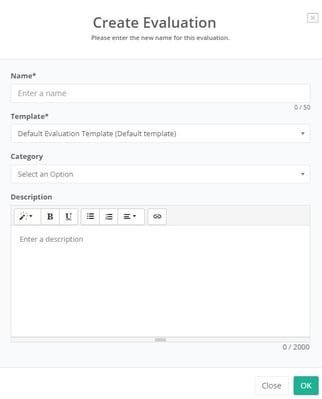 You’ll be prompted to describe the business process, including the execution time, cost of running, frequency, and more. Then select the category.
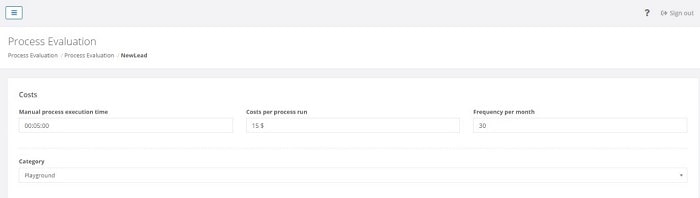
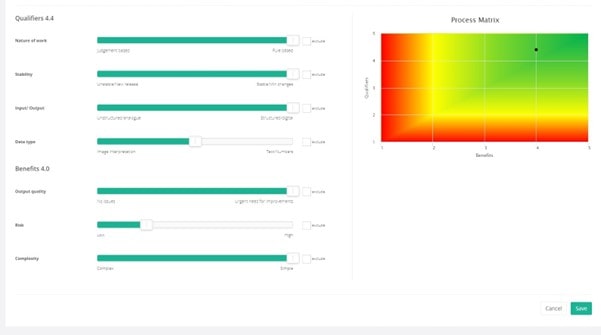
Now, you can assess the qualifiers and benefits like nature of work, complexity, estimated risks, input/output and data type. Basically, a process is suitable for automation if it is rule-based in nature, doesn’t change frequently and deals with structured data.
The result is a process matrix which clearly indicates whether the business process is a good fit for automation or not. Ideally, it should be in the top right corner. Then click Save.
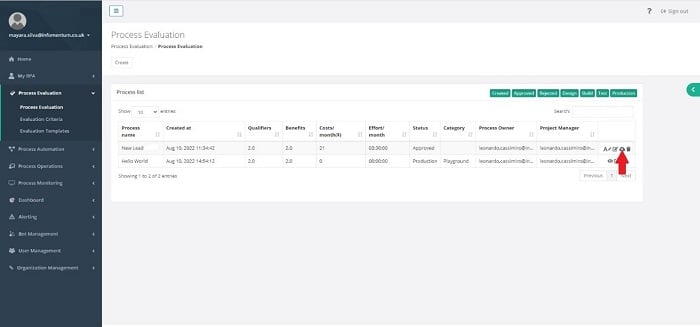
It's time for our Project Manager to review and approve your process. Refresh the Process Evaluation page to view our newly created process.
 Now the Project Manager can navigate to My RPA and click on My Backlog to see pending processes. Click Start Automate to implement the process.
Configuration and project management
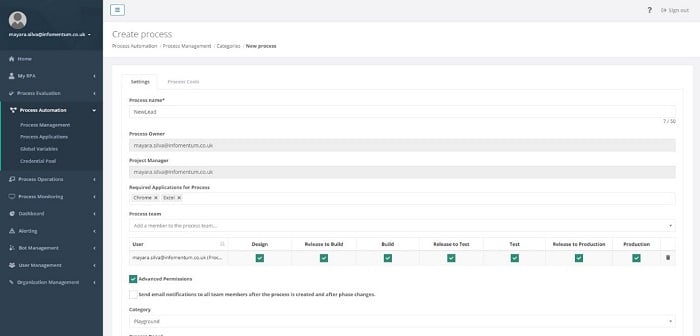
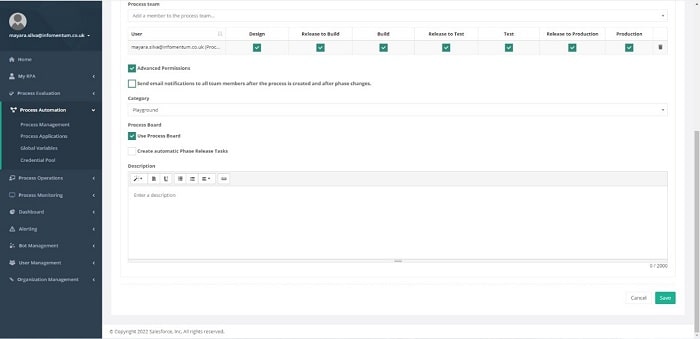
We are ready to implement our process, but first, we need to set up the team and user's permissions for each stage of the automation lifecycle - Design, Build, Test and Production. We also specify all applications used as a part of the process, which in my case are Chrome as the browser and MS Excel. Assign the process to one of the pre-defined categories and give it a description. Once completed, click Save.
Design Phase
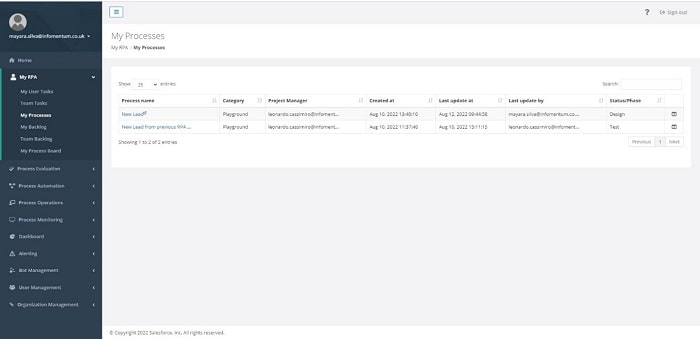
Our project is ready for the Design phase. Navigate to My RPA and click My Processes. Click on our new process to go to the Design pane.
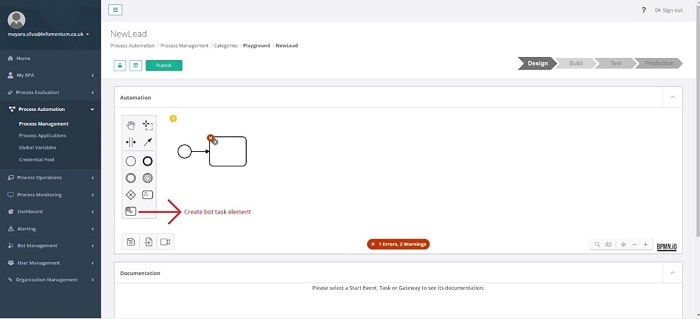
 I can now either build a flow using the Business Process Model Notation (BPMN) or a Process Recorder. Use the left-side menu to select and drag and drop task elements into my process's flow. For this test, I use only Create Bot Task element. Below you can see how I create the flow.
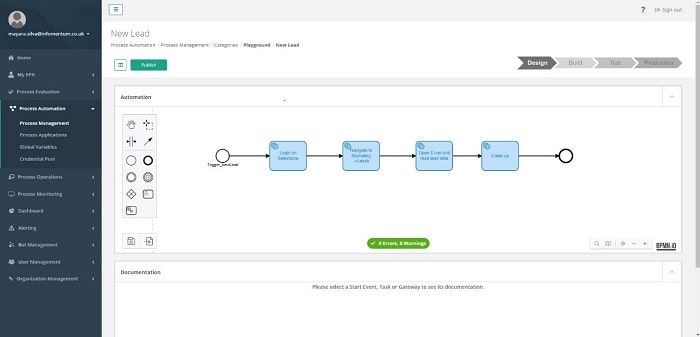
 BPMN is now completed.
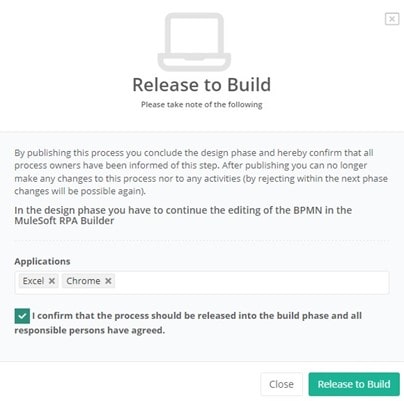
 Once the design is done, we promote our process to the Build phase by clicking the Publish button. Confirm and click Release to Build.
Build Phase
RPA Builder, a locally installed application, is used to create logic for our bot's execution. We start by downloading BPMN from RPA Manager Repository developed during the Design Phase. Each element of our workflow should now be transformed into actionable steps.
In our case, the first BPMN element is to 'Login to Salesforce'. I use ToolBox to select required action steps and drag them into my workflow to create a complete sequence. Let's look in detail at how the login is performed by the bot:
- The first action is to open the browser.
- Then, the bot should specify the login credentials, so I create variables to store the username and password.
- After that, I add the image search action step. I specify how the bot should locate the 'username' field of the login form.
- Following that, a mouse click action step takes the mouse pointer to the 'username' text field for the bot to type username.
- The same sequence of steps is performed to specify the password.
Moving on to the third element of my workflow Open Excel and read lead data. It contains steps to read information from a spreadsheet, check it I Salesforce and create a new lead in Salesforce in case it is missing. Below, I have included some action steps used:
- Use action steps from the Excel Operations to set the file path to my spreadsheet and iterate over the data in the file.
- Create variables to store data extracted from the spreadsheet and used to populate the web form when a new lead in created in Salesforce.
- Image Search action step to take screenshots from Salesforce web form so the bot can locate the fields to fill in.
- Mouse click action steps.
- Mail Session and Send Mail action steps to send email notifications if a record already exists in Salesforce, or an error occurred.
After the bot has completed execution, the good practice is to do the cleanup. Think that the bot might run again on a different process, so the machine should have no other screens or web pages open. It will ensure our bots' good performance.
Testing
We are now ready to test our flow. In the RPA Builder, click Run Process and monitor the execution. The bot logs into Salesforce by typing the credentials. The bot accesses our test Excel document that contains a list of people and their details. In Salesforce, the bot clicks the Leads tab and types the first email from the Excel spreadsheet in the search box. The email exists, so the bot cleans the search box and types the next email. If the record is not found, the bot proceeds to create a new lead. It uses information from the Excel document to fill in the Lead form. The process continues till there are no more records in the spreadsheet. At that point, the bot logs out and closes all windows and documents. The only thing left is to check email notifications informing me about people's records missing in Salesforce. And we are done!
In real life, the next step would be the Test Phase to configure the test plan and run thorough testing of our bots' execution. During the Production Phase, the team sets up the activity programme, defines the user for the execution and specifies the running schedule. Finally, we are ready to deploy and execute our bots.
To make it easier for you, I have recorded the Building Phase so you can watch how to create logic using the RPA Builder tool and watch my bot in action.
Hope you find it helpful. Let me know if you have any questions or comments.
Creating execution logic in RPA Builder and testing the bot.

.png)
